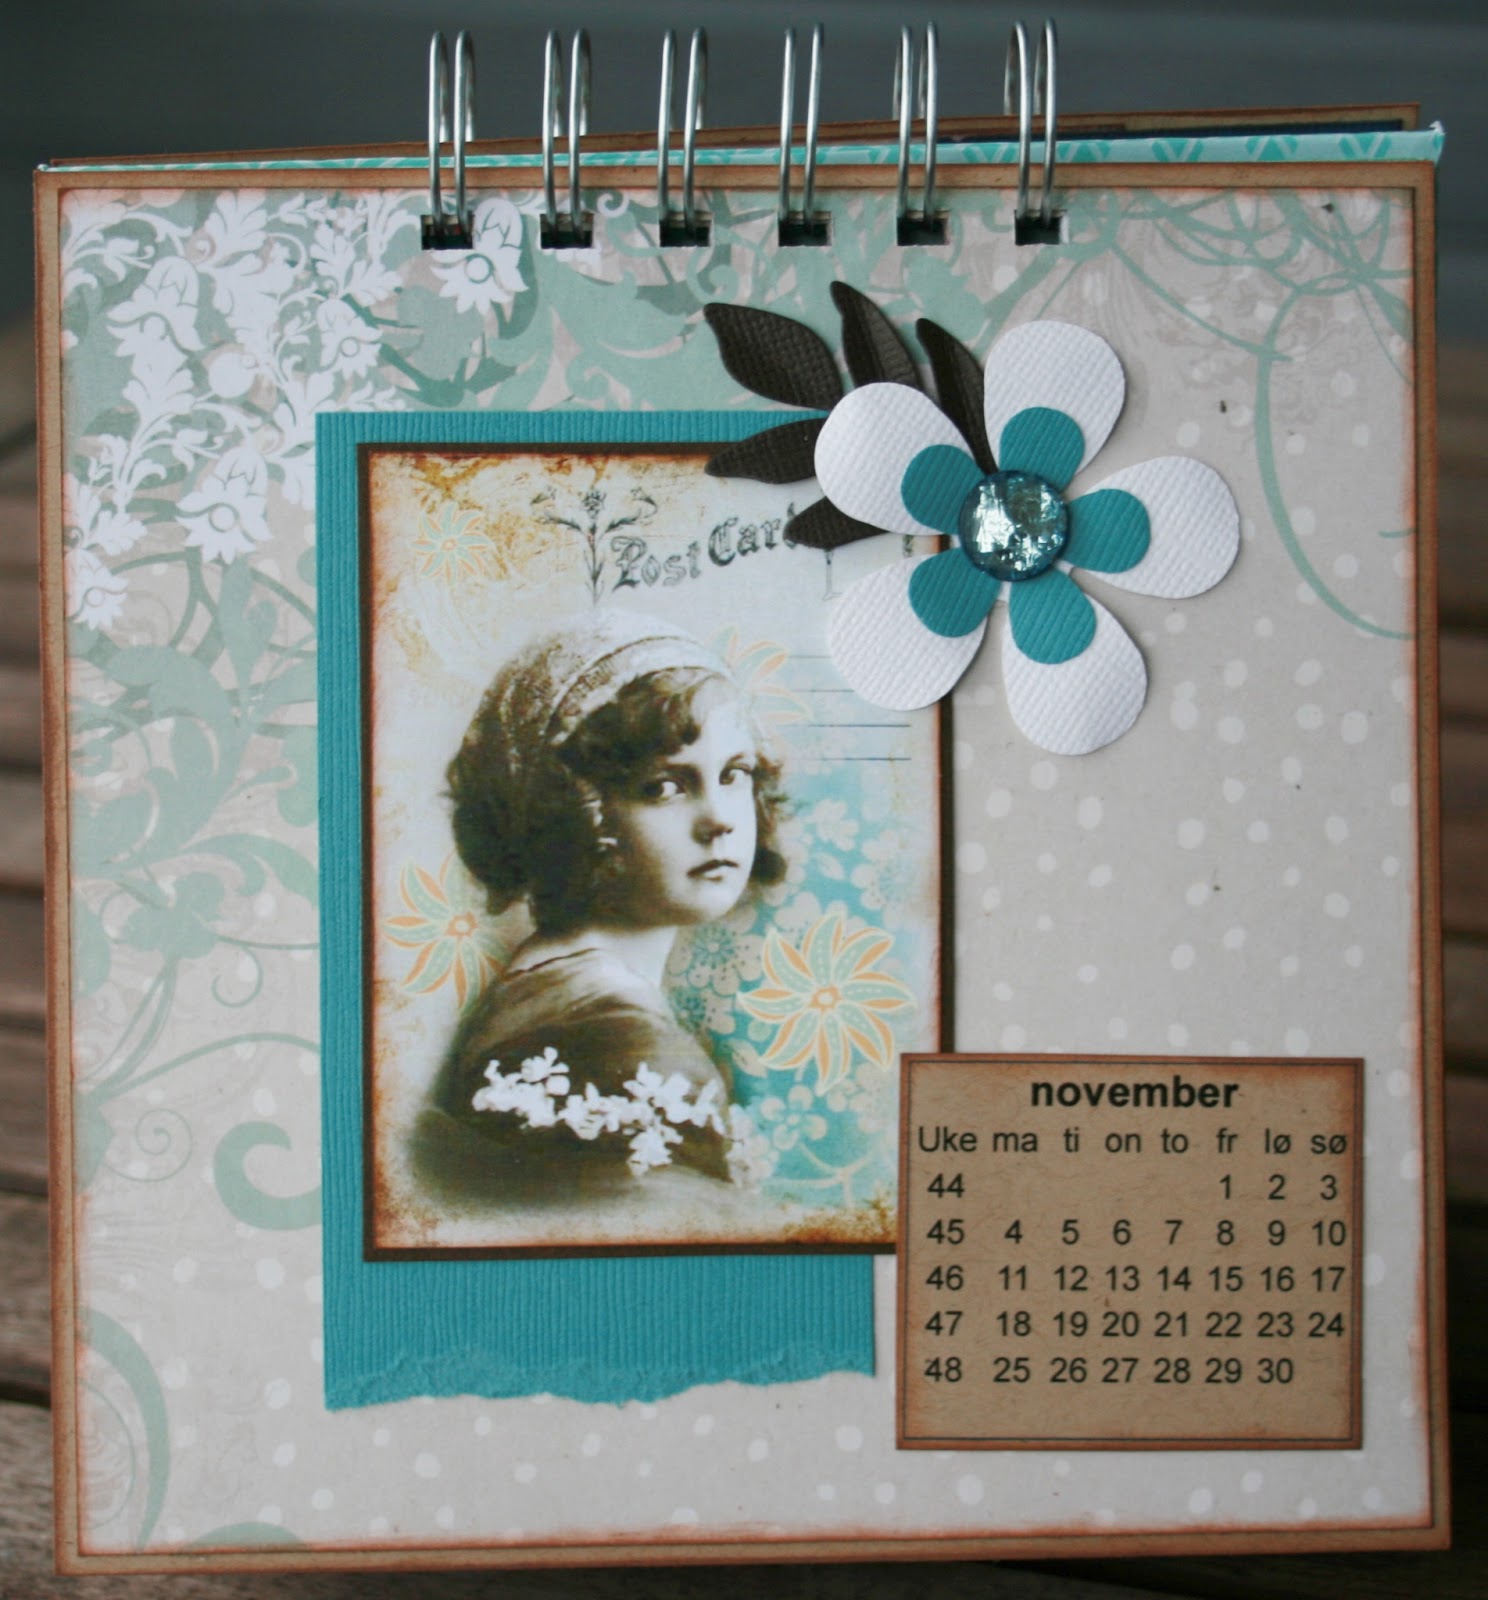
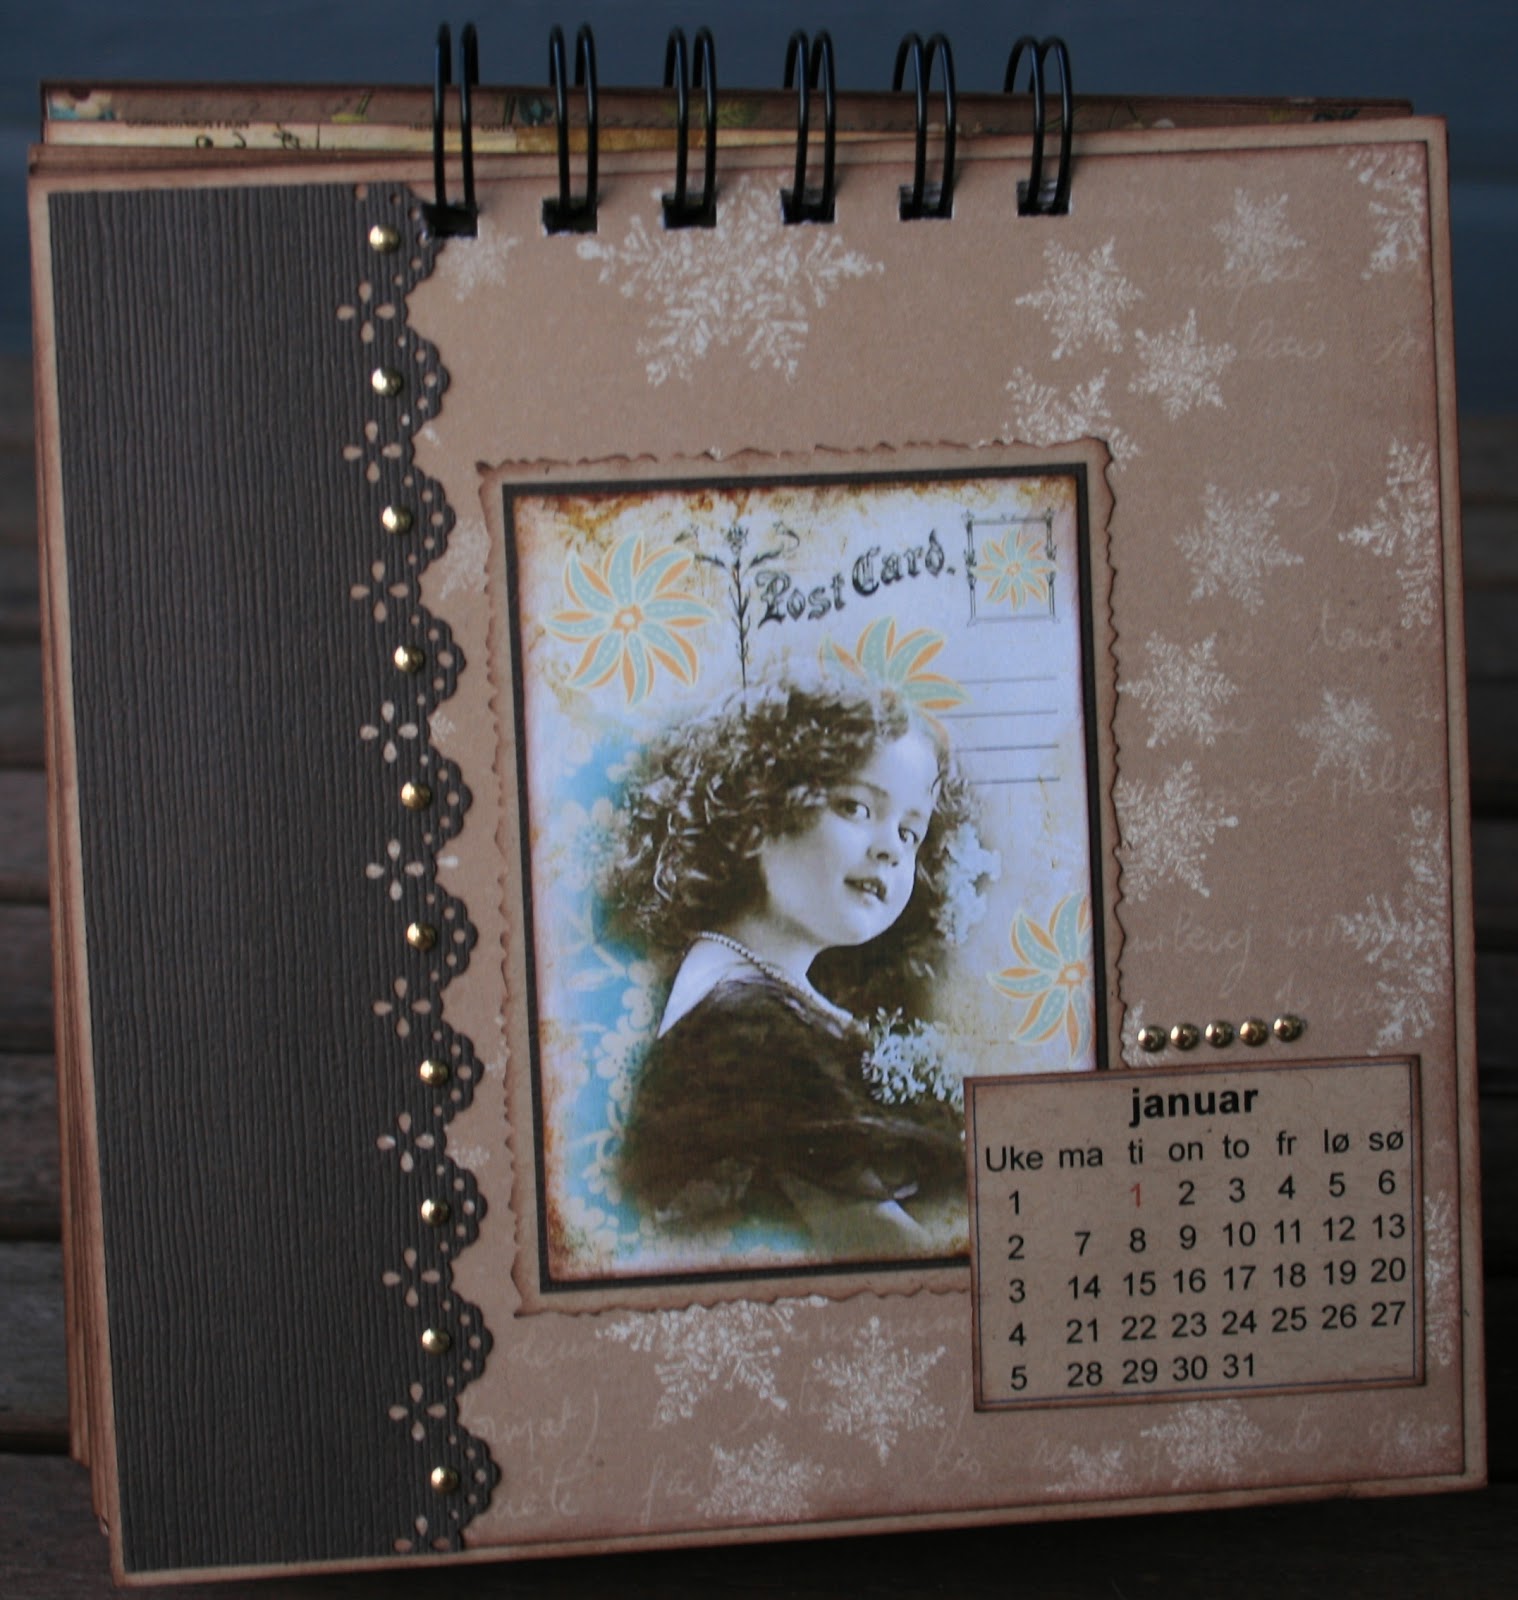
Her er et tips til julegaver. Jeg har mange bilder til overs etter scrapping av LO'er for jeg har en tendens til å printe flere bilder enn jeg trenger. De bildene som blir til overs bruker jeg til andre ting, bl.a kalendere som jeg har selv eller gir bort. Her kommer en liten tutorial:
Here is a tip for Christmas gift. I have a lot of pictures left over after scrapping layouts for I always print more pictures than I need. The left over pictures I use for other things, like calendars I use myself of use as gifts. Here is a tutorial on how to make them: 1. Kutt 6 biter kartong - jeg har kuttet bitene i størrelsen 17 x 20 cm, men du kan bruke hvilken som helst størrelse. Du kan bruke dobbelsidig tykk pyntepapir også istedet for kartong. Dekorer etter smak og lag hull på toppen med Bind-it all fra Zutter
1. Cut 6 pieces of cardstock - I have cut them 17 x 20 cm, but you can use whatever size you want. You can also use thick doublesided scrapbook paper instead of cardstock. Decorate as you wish and punch holes on top of the page with the Bind-it all from Zutter
2. Lim bilder på hver side av alle de 6 bitene med kartong. Lim også på kalenderark. Jeg har funnet kalender på nettsiden
http://www.timeanddate.com/ og der kan man lage kalender for neste år, og du har flere typer valg på utseende.
2. Attach photos on every page on all the 6 pieces of cardstock. Attach also the calendar. I have found a calendar on this web page http://www.timeanddate.com/ and you can make calendar for next year, and you also have different types of layout. 
3. For å få kalenderen til å stå på bordet så må man ha 2 stk biter med permpapp, eller annen type papp som er litt stødig. Man kan også bruke biter fra en pappeske som er litt stødig. Jeg har kuttet permpappen i størrelsen 17,5 x 20,5, og jeg har dekorert begge sidene med papir.
3. To get the calendar to stand on the table you need to have 2 pieces of cardboard. I have cut the cardboard 17,5 x 20,5 cm and I have glued scrapbook paper on both sides. 
4. Punch hull på toppen av hver perm.
4. Punch holes on the top of each cardboard
5. Bind sammen kalenderen med O-wire - jeg har brukt størrelsen 3/4". Jeg har lagt kalenderarkene i riktig rekkefølge og så har jeg lagt permpappen med med forsiden mot hverandre.
5. Bind the calendar together with O-wire, I have used the size 3/4". I have put the calendar in the correct order and the cardboard with face to face. 
6. Kutt kartong i størrelse 17,5 x 9 cm og score på 2 cm.
6. Cut cardstock in the size 17,5 x 9 cm and score on 2 cm.

7. Lim kartongen nederst kant i kant på permen - på det som blir fremsiden på kalenderen.
7. Glue the cardstock on the bottom of the cardboard, on the side that will be the front of the calendar.

8. Sett opp kalenderen på bordet, fest de to bitene med kartong enten med tape, binders eller lignende. Kalendere som jeg skal gi bort limer jeg ikke sammen da de blir litt vanskelig å pakke.
8. Put the calendar on the table, and attach the two pieces of cardstock together with glue, paperclip or something similar. Calendars I'm giving away I will not glue the cardstock because it makes it more difficult to wrap.

9. Kalender er ferdig.
9. Calendar is finished.